
In today’s hyper-connected world, mobile users are constantly browsing, streaming, and accessing personal and professional data via their smartphones. While most people rely on basic network protections, few understand how DNS (Domain Name System) impacts their privacy and security.
Fortunately, Android offers a powerful built-in feature called Private DNS Mode, designed to shield users from many digital vulnerabilities—yet it’s often overlooked.
This comprehensive guide will walk you through everything you need to know about Android’s Private DNS, including how it works, why it’s essential, how to set it up, and which DNS providers are best for your needs.
Key Notes
- Android Private DNS uses DNS-over-TLS to encrypt domain name lookups.
- This feature blocks ISPs and third parties from seeing which websites you access.
- It’s especially useful on public Wi-Fi and other unsecured networks.
- Popular secure DNS providers include Cloudflare, Google DNS, and Quad9.
- Android 9 (Pie) and later versions support Private DNS natively.
What Is DNS and Why Does It Matter?
Before diving into Private DNS, let’s clarify what DNS does. The Domain Name System acts as the internet’s phonebook, translating human-friendly domain names (like www.example.com) into IP addresses that computers use to locate web servers.
Without DNS, you’d have to remember long strings of numbers instead of simple web addresses. But by default, these DNS queries are sent in plain text, meaning they can be intercepted by:
- Internet service providers (ISPs)
- Network administrators
- Cyber attackers
- Malicious hotspot owners
These parties can potentially log, track, or redirect your traffic.
What Is Private DNS on Android?
Private DNS is a security feature introduced in Android 9 Pie. It enables DNS-over-TLS (Transport Layer Security), an encryption protocol that wraps DNS queries in a secure layer—preventing third parties from reading or tampering with them.
Unlike traditional DNS, which leaves your digital footprint exposed, Private DNS ensures that all domain lookups remain encrypted and private between your phone and the DNS server.
Why Private DNS Mode Is a Must-Have
Here’s why every Android user should consider enabling Private DNS mode immediately:
1. Enhanced Privacy
ISPs and network owners can no longer monitor or log your browsing history through DNS queries. Your website requests remain private.
2. Safer Public Wi-Fi Usage
Using coffee shop or airport Wi-Fi? Without encrypted DNS, you’re vulnerable to man-in-the-middle attacks. Private DNS blocks this risk.
3. Prevents DNS Spoofing
Hackers can use DNS spoofing to reroute your traffic to fake sites. Private DNS thwarts this by validating communication via encryption.
4. No More ISP DNS Redirection
Many ISPs redirect invalid URLs to ad-heavy search pages. Secure DNS stops this behavior and improves user experience.
5. Built-In Security Without Extra Apps
Unlike VPNs or security apps, Private DNS is baked into Android. No downloads, subscriptions, or background activity required.
How to Turn On Private DNS Mode on Android
Enabling Private DNS is surprisingly simple and takes just a minute.
For Most Android Phones (Android 9+)
- Open your Settings app.
- Tap Network & Internet.
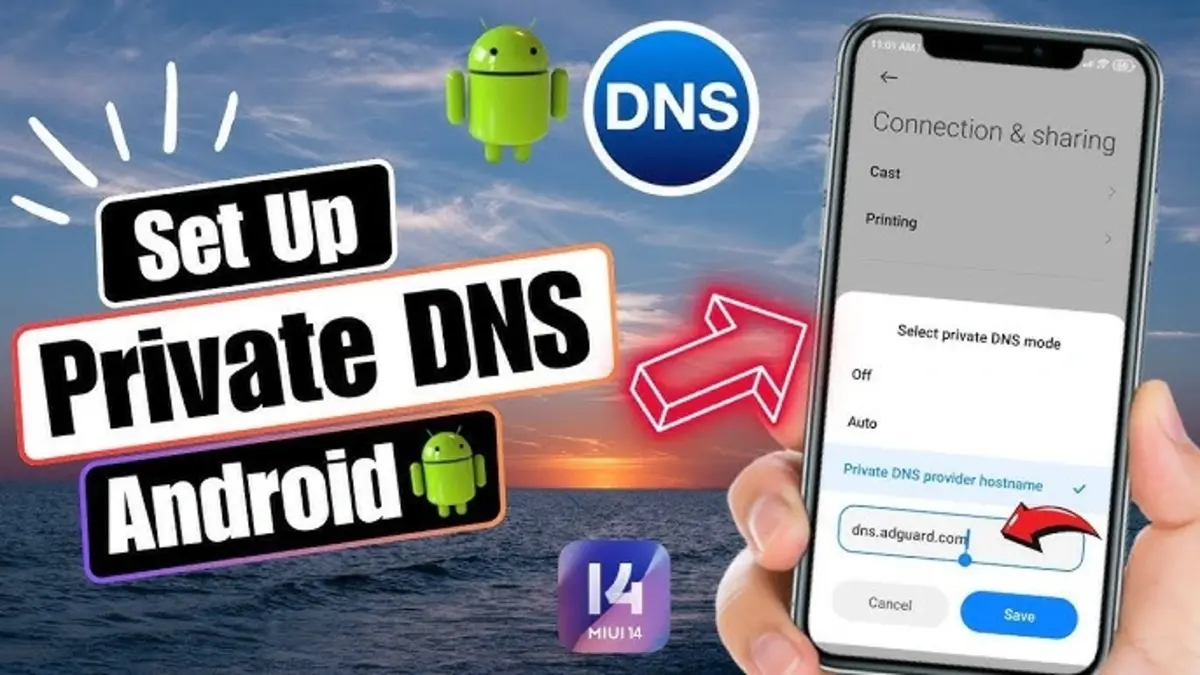
- Scroll down and select Private DNS.
- Choose Private DNS provider hostname.
- Enter the hostname of your chosen DNS provider (e.g.,
1dot1dot1dot1.cloudflare-dns.com). - Tap Save.
For Samsung Devices
- Go to Settings → Connections.
- Tap More Connection Settings.
- Choose Private DNS.
- Enter the DNS hostname and tap Save.
That’s it—Private DNS is now protecting all your web traffic.
Recommended DNS Providers for Private DNS Mode
Choosing a trustworthy and fast DNS provider is essential. Here are the most popular and secure options:
1. Cloudflare DNS
- Hostname:
1dot1dot1dot1.cloudflare-dns.com - Highlights: Fastest speeds, privacy-first policies, no user tracking, query logs deleted within 24 hours.
- Additional Benefits: Built-in malware blocking and family filters available via alternate hostnames.
2. Google Public DNS
- Hostname:
dns.google - Highlights: High reliability and infrastructure scale.
- Note: Slightly more data retention compared to Cloudflare.
3. Quad9
- Hostname:
dns.quad9.net - Highlights: Excellent phishing and malware protection.
- Privacy: Non-profit with strict privacy standards.
4. OpenDNS (Cisco)
- Hostname:
dns.opendns.com - Highlights: Custom filtering, parental controls.
5. CleanBrowsing
- Hostname:
security-filter-dns.cleanbrowsing.org - Highlights: Multiple filtering levels, great for families and schools.
Each DNS service offers its own balance of performance, privacy, and additional features. For most users, Cloudflare and Quad9 offer the best blend of speed and privacy.
How to Test If Private DNS Is Working
After setting up Private DNS, it’s wise to confirm that your device is properly secured.
Step-by-Step Verification
- Open your browser and visit: https://1.1.1.1/help
- Check the field labeled Using DNS over TLS (DoT).
- It should say: Yes.
This confirms your DNS queries are now encrypted.
Common Issues and Fixes
1. Internet Not Working After Enabling
- Double-check the provider hostname for typos.
- Try switching to a different DNS provider.
- Disable Private DNS temporarily and confirm connectivity.
2. Apps Not Loading Content
Some apps (especially older ones) may not work well with encrypted DNS. Consider switching to “Automatic” mode or selecting another DNS provider with better app compatibility.
3. Battery Drain
Private DNS operates in the background but should not consume significant power. If battery usage increases, review app-level background activity instead.
Private DNS vs VPN: What’s the Difference?
| Feature | Private DNS | VPN |
|---|---|---|
| Encrypts DNS? | Yes | Yes |
| Encrypts All Traffic? | No | Yes |
| Hides IP Address? | No | Yes |
| Requires App? | No | Yes |
| Free to Use? | Yes | Not always |
Private DNS is ideal for lightweight privacy enhancements without slowing down your device. For full anonymity, pair it with a reliable VPN.
Why This Matters More Than Ever
In the age of targeted ads, mass surveillance, and growing cyber threats, protecting your digital footprint is no longer optional. Every domain lookup you make reveals something about your online behavior.
Without Private DNS, every time you:
- Search a topic
- Visit a bank website
- Access a sensitive account
…your DNS request may be visible to third parties. This is especially risky on shared networks like:
- Airport lounges
- Hotel Wi-Fi
- School campuses
- Public libraries
Enabling Private DNS transforms your smartphone into a more secure, private browsing device—without needing tech expertise.
Additional Tips to Maximize Security
- Use HTTPS Everywhere: Ensure websites you visit use secure HTTPS connections.
- Keep your Android OS up to date.
- Disable Wi-Fi auto-connect in public areas.
- Avoid using unknown DNS providers.
- Use browser extensions like ad blockers and anti-tracking tools.
Final Thoughts
Android’s Private DNS mode is one of the most underrated tools for improving your smartphone’s security. It’s fast, free, built into your phone, and only takes seconds to activate.
If you care about keeping your internet habits private, especially when using public or shared networks, enabling Private DNS is one of the smartest steps you can take today. Choose a trusted DNS provider like Cloudflare or Quad9, activate the setting, and start browsing with greater peace of mind.